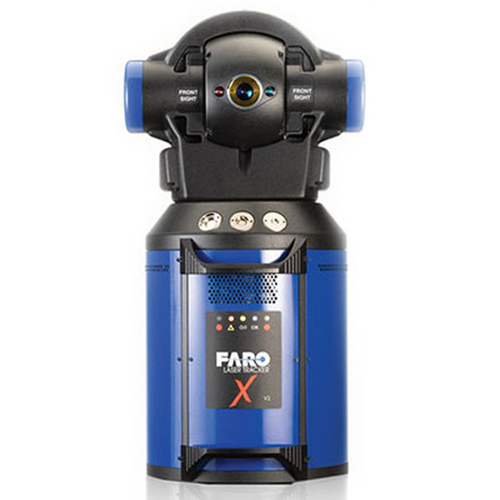
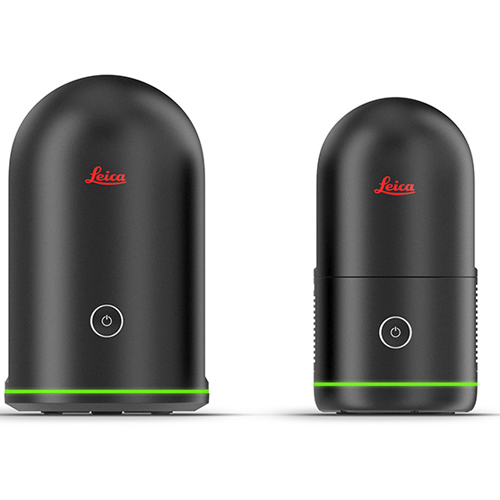
A 3D scanner works by using a laser light between the scanner and the object being scanned, capturing data from a physical object’s surface to describe its shape in an accurate, digital, three-dimensional format. The high-quality 3D scan data is used for more than just inspection and dimensional analysis. The resulting measurement data enables faster, more accessible digital analysis and inspection in a visual, in-depth reporting method. 3D scanners also work to replicate parts in reverse engineering, assure fit, form, and function of components in remote locations, validate CAD models of 3D printed parts, and open the door to more digital strategies.
To create a 3D representation of the object, the scanner captures thousands or millions of these distance measurements, known as point clouds, from multiple angles. These point clouds are then combined to create a detailed 3D model of the object. The laser scanner can capture not only the surface geometry but also color and texture data of the object, creating a realistic digital model. Some laser scanners can also capture additional data such as temperature, humidity, and atmospheric pressure.
The resulting 3D models created by laser scanners can be used for a variety of applications, including reverse engineering, quality control, construction documentation, virtual reality, and more. Here’s a comprehensive explanation of how 3D laser scanning works, its results, and an example:
- Emission of laser pulses: The process begins when the 3D laser scanner emits a pulse of laser light towards the target object or environment. The laser light can be emitted in a single line or a 360-degree pattern, depending on the scanner type.
- Reflection of light and capture: As the laser light hits various surfaces, it gets reflected and travels back to the scanner. The scanner is equipped with sensors that detect and record the reflected light.
- Measurement of time-of-flight: The time it takes for the laser light to travel from the scanner to the object and back is called the time-of-flight. By measuring this time and knowing the speed of light, the scanner calculates the distance between the scanner and the object’s surface.
- Recording data points: Each reflection generates a single data point, or a point in 3D space, with its own set of coordinates (X, Y, and Z). The scanner collects millions of such data points, called a point cloud, which represents the scanned object or environment.
- Post-processing and registration: The raw point cloud data is imported into specialized software, where it’s cleaned, filtered, and aligned. Multiple scans from different angles may be registered together to form a comprehensive model.
- Generation of the 3D model: Once the point cloud data is processed, it can be used to generate a detailed, accurate 3D model of the object or environment. This model can be a mesh, a surface, or a solid CAD (Computer-Aided Design) model, depending on the application and the software used.
Result: The result of 3D laser scanning is a highly accurate, detailed digital 3D representation of the object or environment, which can be used for various applications such as inspection, reverse engineering, construction and cultural heritage documentation.
Example: Let’s say a team wants to document an ancient historical site for preservation and research purposes. They would use a 3D laser scanner to capture the site’s geometry, structures, and artifacts. The scanner would emit laser pulses, which would reflect off the surfaces and return to the scanner. The scanner would then calculate the distances and create a point cloud of the site. After processing the data, a highly detailed and accurate 3D model of the historical site would be generated, allowing researchers to study the site digitally and plan restoration efforts.

